Unit 2.2 Data Compression
Blog about Big Idea 2.2 and Hacks


- Smiley Face Image
- Enumerate "Data" Big Idea from College Board
- Image Files and Size
- Displaying images in Python Jupyter notebook
- Reading and Encoding Images (2 implementations follow)
- Data Structures, Imperative Programming Style, and working with Images
- Data Structures and OOP
- Additionally, review all the imports in these three demos. Create a definition of their purpose, specifically these ...
- Hacks
- Hacks Solved

Enumerate "Data" Big Idea from College Board
Some of the big ideas and vocab that you observe, talk about it with a partner ...
- "Data compression is the reduction of the number of bits needed to represent data"
- "Data compression is used to save transmission time and storage space."
- "lossy data can reduce data but the original data is not recovered"
- "lossless data lets you restore and recover"
The Image Lab Project contains a plethora of College Board Unit 2 data concepts. Working with Images provides many opportunities for compression and analyzing size.
Image Files and Size
Here are some Images Files. Download these files, load them into
imagesdirectory under _notebooks in your Blog.
Describe some of the meta data and considerations when managing Image files. Describe how these relate to Data Compression ...
- File Type, PNG and JPG are two types used in this lab
- Size, height and width, number of pixels
- Visual perception, lossy compression
Displaying images in Python Jupyter notebook
Python Libraries and Concepts used for Jupyter and Files/Directories
IPython
Support visualization of data in Jupyter notebooks. Visualization is specific to View, for the web visualization needs to be converted to HTML.
pathlib
File paths are different on Windows versus Mac and Linux. This can cause problems in a project as you work and deploy on different Operating Systems (OS's), pathlib is a solution to this problem.
- What are commands you use in terminal to access files?
I use the ls command to list all the files and I use cd to move into directories. I use cat to read files and sudo nano to open and edit files.
- What are the command you use in Windows terminal to access files?
I use the dir command to view the files and folders within a directory. To open a file, I can type the name of the file and press ENTER.
- What are some of the major differences?
The biggest different is the use of different commands to open and access files. For example, ls vs dir.
Provide what you observed, struggled with, or leaned while playing with this code.
- Why is path a big deal when working with images?
It is easier for images to be accessed and it is also easier to utilize those images.
- How does the meta data source and label relate to Unit 5 topics?
Relates to the topic - Beneficial and Harmful Effects as meta data can be extremely beneficial.
- Look up IPython, describe why this is interesting in Jupyter Notebooks for both Pandas and Images?
Allows for more interaction between the notebook and the user because IPython includes interactive shells. Makes it also easier to use Pandas and Images and is better for users.
from IPython.display import Image, display
from pathlib import Path  # https://medium.com/@ageitgey/python-3-quick-tip-the-easy-way-to-deal-with-file-paths-on-windows-mac-and-linux-11a072b58d5f

# prepares a series of images
def image_data(path=Path("images/"), images=None):  # path of static images is defaulted
    if images is None:  # default image
        images = [
            {'source': "Peter Carolin", 'label': "Clouds Impression", 'file': "clouds-impression.png"},
            {'source': "Peter Carolin", 'label': "Lassen Volcano", 'file': "lassen-volcano.jpg"},
            {'source': "Internet", 'label': "Smiley Face", 'file': "Smiley.png"}

        ]
    for image in images:
        # File to open
        image['filename'] = path / image['file']  # file with path
    return images

def image_display(images):
    for image in images:
        display(Image(filename=image['filename']))


# Run this as standalone tester to see sample data printed in Jupyter terminal
if __name__ == "__main__":
    # print parameter supplied image
    green_square = image_data(images=[{'source': "Internet", 'label': "Green Square", 'file': "green-square-16.png"}])
    image_display(green_square)

    # display default images from image_data()
    default_images = image_data()
    image_display(default_images)


Reading and Encoding Images (2 implementations follow)
PIL (Python Image Library)
Pillow or PIL provides the ability to work with images in Python. Geeks for Geeks shows some ideas on working with images.
base64
Image formats (JPG, PNG) are often called Binary File formats, it is difficult to pass these over HTTP. Thus, base64 converts binary encoded data (8-bit, ASCII/Unicode) into a text encoded scheme (24 bits, 6-bit Base64 digits). Thus base64 is used to transport and embed binary images into textual assets such as HTML and CSS.
- How is Base64 similar or different to Binary and Hexadecimal?
Base64 is mainly used for images while binary and hexadecimals are not. Binary and Hexadecimal also have a specific base (8 and 16 respectively) while Base64 is used to refer to how binary data is encoded to text.
- Translate first 3 letters of your name to Base64.
M
numpy
Numpy is described as "The fundamental package for scientific computing with Python". In the Image Lab, a Numpy array is created from the image data in order to simplify access and change to the RGB values of the pixels, converting pixels to grey scale.
io, BytesIO
Input and Output (I/O) is a fundamental of all Computer Programming. Input/output (I/O) buffering is a technique used to optimize I/O operations. In large quantities of data, how many frames of input the server currently has queued is the buffer. In this example, there is a very large picture that lags.
- Where have you been a consumer of buffering?
I have experienced buffering many times, the majority in my home when I am on my computer or watching TV.
- From your consumer experience, what effects have you experienced from buffering?
Whenever there is a lot of data, a lot of users, and a lot of inputs, there is buffering. A lot of times when I am watching a movie or a video, the video doesn't load because it is buffering. Sometimes, a game that I am playing may lag and buffer, especially if a lot of effects (i.e. a ton of bullets) appear on the screen.
- How do these effects apply to images?
When there are large images or very graphic images, buffering tends to occur more.
Data Structures, Imperative Programming Style, and working with Images
Introduction to creating meta data and manipulating images. Look at each procedure and explain the the purpose and results of this program. Add any insights or challenges as you explored this program.
-
Does this code seem like a series of steps are being performed? The code slightly seems like a series of steps. There are multiple functions being performed in order and there are many operations done within each function.
-
Describe Grey Scale algorithm in English or Pseudo code? The algorithm first receives a scaled size of the image, and data is retrieved from the image. The amount of pixels retreived is then averaged and appended to the data. The image data is then returned.
-
Describe scale image? What is before and after on pixels in three images? The scale image scales the height and width of the image to a certain amount. Some images are scaled to a bigger size while others are shrunk.
-
Is scale image a type of compression? If so, line it up with College Board terms described?
Scale is a type of compression - lossless compression. Original data is not being permanently removed, and instead, the file size is reduced by removing metadata - therefore, lossless.
from IPython.display import HTML, display
from pathlib import Path  # https://medium.com/@ageitgey/python-3-quick-tip-the-easy-way-to-deal-with-file-paths-on-windows-mac-and-linux-11a072b58d5f
from PIL import Image as pilImage # as pilImage is used to avoid conflicts
from io import BytesIO
import base64
import numpy as np

# prepares a series of images
def image_data(path=Path("images/"), images=None):  # path of static images is defaulted
    if images is None:  # default image
        images = [
            {'source': "Internet", 'label': "Green Square", 'file': "green-square-16.png"},
            {'source': "Peter Carolin", 'label': "Clouds Impression", 'file': "clouds-impression.png"},
            {'source': "Peter Carolin", 'label': "Lassen Volcano", 'file': "lassen-volcano.jpg"},
            {'source': "Internet", 'label': "Smiley Face", 'file': "Smiley.png"}

        ]
    for image in images:
        # File to open
        image['filename'] = path / image['file']  # file with path
    return images

# Large image scaled to baseWidth of 320
def scale_image(img):
    baseWidth = 320
    scalePercent = (baseWidth/float(img.size[0]))
    scaleHeight = int((float(img.size[1])*float(scalePercent)))
    scale = (baseWidth, scaleHeight)
    return img.resize(scale)

# PIL image converted to base64
def image_to_base64(img, format):
    with BytesIO() as buffer:
        img.save(buffer, format)
        return base64.b64encode(buffer.getvalue()).decode()

# Set Properties of Image, Scale, and convert to Base64
def image_management(image):  # path of static images is defaulted
    # Image open return PIL image object
    img = pilImage.open(image['filename'])

    # Python Image Library operations
    image['format'] = img.format
    image['mode'] = img.mode
    image['size'] = img.size
    # Scale the Image
    img = scale_image(img)
    image['pil'] = img
    image['scaled_size'] = img.size
    # Scaled HTML
    image['html'] = '<img src="data:image/png;base64,%s">' % image_to_base64(image['pil'], image['format'])

# Create Grey Scale Base64 representation of Image
def image_management_add_html_grey(image):
    # Image open return PIL image object
    img = image['pil']
    format = image['format']

    img_data = img.getdata()  # Reference https://www.geeksforgeeks.org/python-pil-image-getdata/
    image['data'] = np.array(img_data) # PIL image to numpy array
    image['gray_data'] = [] # key/value for data converted to gray scale

    # 'data' is a list of RGB data, the list is traversed and hex and binary lists are calculated and formatted
    for pixel in image['data']:
        # create gray scale of image, ref: https://www.geeksforgeeks.org/convert-a-numpy-array-to-an-image/
        average = (pixel[0] + pixel[1] + pixel[2]) // 3  # average pixel values and use // for integer division
        if len(pixel) > 3:
            image['gray_data'].append((average, average, average, pixel[3])) # PNG format
        else:
            image['gray_data'].append((average, average, average))
        # end for loop for pixels

    img.putdata(image['gray_data'])
    image['html_grey'] = '<img src="data:image/png;base64,%s">' % image_to_base64(img, format)

def image_management_add_html_green(image):
    # Image open return PIL image object
    img = image['pil']
    format = image['format']

    img_data = img.getdata()  # Reference https://www.geeksforgeeks.org/python-pil-image-getdata/
    image['data'] = np.array(img_data) # PIL image to numpy array
    image['green_data'] = [] # key/value for data converted to gray scale

    # 'data' is a list of RGB data, the list is traversed and hex and binary lists are calculated and formatted
    for pixel in image['data']:
        green = 255 - (pixel[1])
        # create gray scale of image, ref: https://www.geeksforgeeks.org/convert-a-numpy-array-to-an-image/
        average = (pixel[0] + pixel[1] + pixel[2]) // 3  # average pixel values and use // for integer division
        if len(pixel) > 3:
            image['green_data'].append((average, green, average, pixel[3])) # PNG format
        else:
            image['green_data'].append((average, green, average))
        # end for loop for pixels

    img.putdata(image['green_data'])
    image['html_green'] = '<img src="data:image/png;base64,%s">' % image_to_base64(img, format)


# Jupyter Notebook Visualization of Images
if __name__ == "__main__":
    # Use numpy to concatenate two arrays
    images = image_data()

    # Display meta data, scaled view, and grey scale for each image
    for image in images:
        image_management(image)
        print("---- meta data -----")
        print(image['label'])
        print(image['source'])
        print(image['format'])
        print(image['mode'])
        print("Original size: ", image['size'])
        print("Scaled size: ", image['scaled_size'])

        print("-- original image --")
        display(HTML(image['html']))

        print("--- grey image ----")
        image_management_add_html_grey(image)
        image_management_add_html_green(image)
        display(HTML(image['html_grey']))
        display(HTML(image['html_green']))
    print()


Data Structures and OOP
Most data structures classes require Object Oriented Programming (OOP). Since this class is lined up with a College Course, OOP will be talked about often. Functionality in remainder of this Blog is the same as the prior implementation. Highlight some of the key difference you see between imperative and oop styles.
- Read imperative and object-oriented programming on Wikipedia
- Consider how data is organized in two examples, in relations to procedures
- Look at Parameters in Imperative and Self in OOP
Additionally, review all the imports in these three demos. Create a definition of their purpose, specifically these ...
- PIL
- numpy
- base64
from PIL import Image

def scale_image(img):
    baseWidth = 320
    scalePercent = (baseWidth/float(img.size[0]))
    scaleHeight = int((float(img.size[1])*float(scalePercent)))
    scale = (baseWidth, scaleHeight)
    return img.resize(scale)

def color_image(image):
    width, height = image.size
    for x in range(width):
        for y in range(height):
            image.putpixel( (x, y), (100, 100, 255) )
    return image

image = Image.open('images/Smiley.png')
color_image(scale_image(image))

import numpy as np
from PIL import Image
import matplotlib.pyplot as plt

def blur(I):
    for i in range(1,I.shape[0]-1):
        for j in range(1,I.shape[1]-1):
            I[i,j] = (4*I[i,j] + I[i-1,j] + I[i+1,j] + I[i,j-1] + I[i,j+1])/8.0
    return I
img = plt.imread("images/clouds-impression.png")
image = Image.open("images/clouds-impression.png")
blur(img)
blur(img)
blur(img)
plt.imshow(img, cmap="gray")
image

Hacks
Early Seed award
- Add this Blog to you own Blogging site.
- In the Blog add a Happy Face image.
- Have Happy Face Image open when Tech Talk starts, running on localhost. Don't tell anyone. Show to Teacher.
AP Prep
- In the Blog add notes and observations on each code cell that request an answer.
- In blog add College Board practice problems for 2.3
- Choose 2 images, one that will more likely result in lossy data compression and one that is more likely to result in lossless data compression. Explain.
Project Addition
- If your project has images in it, try to implement an image change that has a purpose. (Ex. An item that has been sold out could become gray scale)
Pick a programming paradigm and solve some of the following ...
- Numpy, manipulating pixels. As opposed to Grey Scale treatment, pick a couple of other types like red scale, green scale, or blue scale. We want you to be manipulating pixels in the image.
- Binary and Hexadecimal reports. Convert and produce pixels in binary and Hexadecimal and display.
- Compression and Sizing of images. Look for insights into compression Lossy and Lossless. Look at PIL library and see if there are other things that can be done.
- There are many effects you can do as well with PIL. Blur the image or write Meta Data on screen, aka Title, Author and Image size.
Hacks Solved
College Board practice problems
Q: Which of the following is an advantage of a lossless compression algorithm over a lossy compression algorithm?
A: A lossless compression algorithm can guarantee reconstruction of original data, while a lossy compression algorithm cannot.
Q: A user wants to save a data file on an online storage site. The user wants to reduce the size of the file, if possible, and wants to be able to completely restore the file to its original version. Which of the following actions best supports the user’s needs?
A: Compressing the file using a lossless compression algorithm before uploading it
Q: A programmer is developing software for a social media platform. The programmer is planning to use compression when users send attachments to other users. Which of the following is a true statement about the use of compression?
A: Lossy compression of an image file generally provides a greater reduction in transmission time than lossless compression does.
2 Images
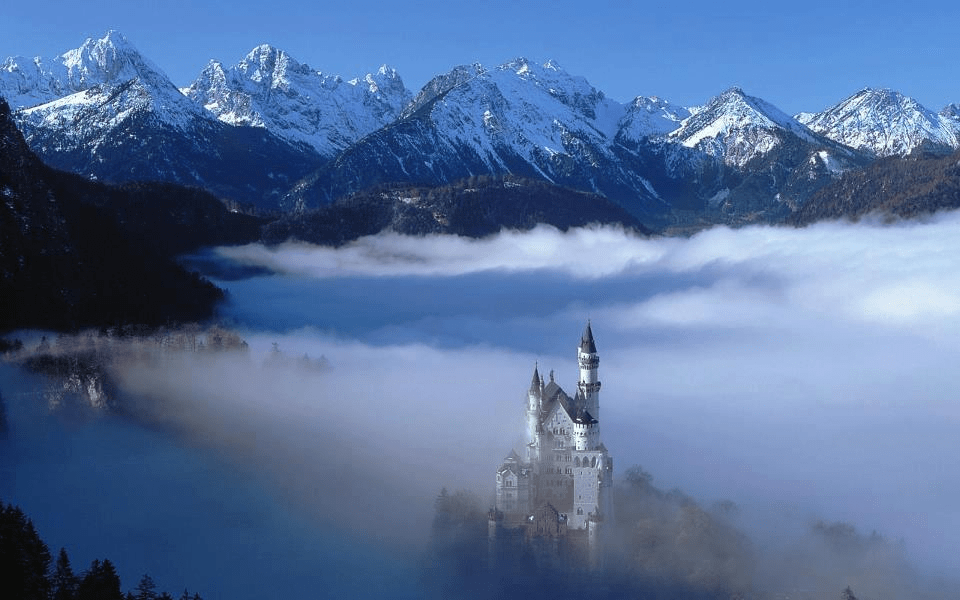
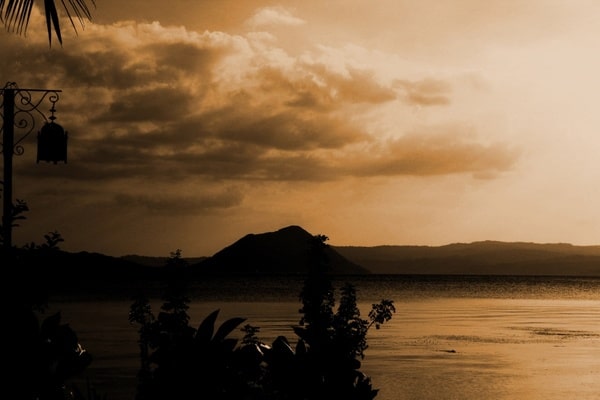
The first image will be better suited for lossless compression because it is in a PNG file, which is more likely to have lossless compression. The second image is better suited for lossy compression because it is in a JPG file, which is more likely to have lossy compression.